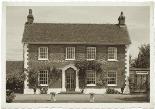
 | Daguerreotype — Widely used from 1839 to 1855, the daguerreotype was the first popular form of photography. Images were captured directly on a thin piece of silver-plated copper. Because no negative was produced, copies could not be made, so each image was unique. Daguerreotypes are often characterized by their reflective quality, a darkening at the edges, and a dark blue-gray or brown-black color. | |
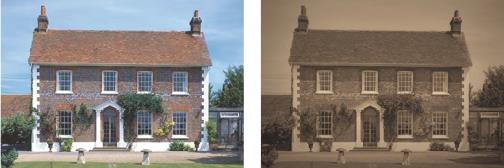
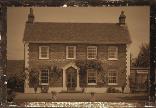
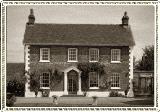
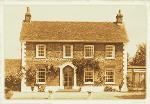 | Albumen — Widely used from 1855 to the 1890s, this inexpensive photographic method produced paper-based photos. Negatives were captured on glass, and the print was then created on paper that used albumen from egg whites to bind the light-sensitive chemicals to the paper. Albumen photos are often characterized by their glossy finish, and soft, warm, brown tones. | |
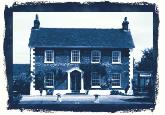 | Cyanotype — Invented in 1841, this simple, inexpensive photographic method became popular from the late 19th century to the early 20th century. The images are created when ultraviolet light converts the light-sensitive chemicals on the paper to Prussian blue. Cyanotypes are characterized by their brilliant blue color. Although this process did not lend itself to portrait photography, the permanence of the images made them popular for scientific and engineering purposes. For example, this method was used for creating blueprints. | |
 | Platinum — Popular from 1873 to 1920, this photographic method used platinum-based developing materials and placed the paper in direct contact with the negative. Although the resulting high-quality prints remained stable over time, the high price of platinum made this method expensive. Platinum prints are often characterized by their wide tonal range and silvery-black colors. This method was revived by artists in the 1960s. | |
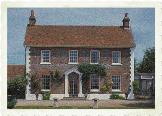 | Early Color — Autochrome was a popular method of producing early color photographs. This method was developed by the Lumière brothers (Auguste and Louis Lumière) in 1904. It used potato starch granules, dyed red, green, and blue, to create colored images on glass, similar to a slide. Autochromes are often characterized by softer colors and a slightly grainy quality. | |
 | Box camera — The box camera was popular from 1900 to the 1960s. The simplicity and portability of the camera meant that anyone could take photos. Photos taken with box cameras have different characteristics, which reflect the age of the camera, the type of film, and the skill of the photographer. | |
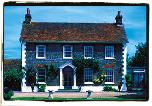 | Cross Process — Cross-processing is a modern photography technique that creates unique color effects by mismatching the film and the chemicals used to develop the film. For example, you can achieve this effect by processing slide film in chemicals designed for color negative film. Cross-processed photos are often characterized by skewed colors, high saturation, and extreme highlights. |