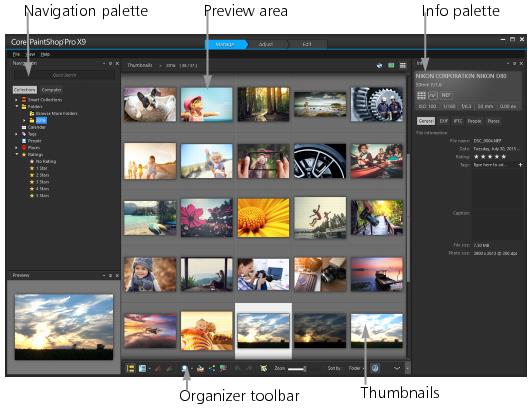
When you start up Corel PaintShop Pro for the first time, the Manage workspace appears as your main workspace with the following four components: Navigation palette, Preview area, Organizer palette, and the Info palette. For information about each of these palettes, see The Manage workspace.
Manage workspace in Preview mode
Depending on your specific needs, you can customize the Manage workspace by choosing the Preview, Thumbnail, or Map mode, resizing, moving, or hiding the palettes, and selecting display and file preferences. For more information, see Setting Manage workspace preferences.
Manage workspace in Thumbnail mode
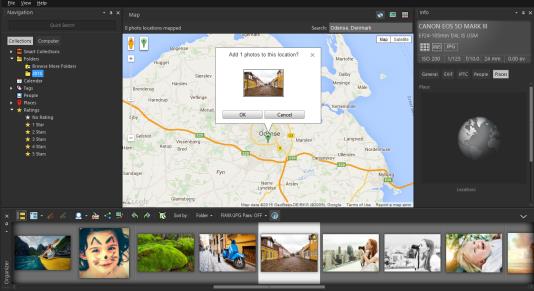
Manage workspace in Map mode
To switch between Preview, Thumbnail and Map modes
• In the upper-right corner of the Manage workspace, click one of the following buttons:
• Preview mode — displays a large preview area of a single image
• Thumbnail mode — expands and locks the Organizer palette content in the preview area
• Map mode — displays a map where photos can be matched to specific locations
1 Position the pointer over the edge of the palette that you want to resize until the pointer changes to a two-way arrow.
2 Drag to enlarge or shrink the panel.
When you customize the Manage workspace, the program remembers the latest layout settings and automatically saves them for your next session.
To hide or show the Navigation palette and Info palette
Manage workspace
• In the Organizer palette, click any of the following buttons on the Organizer toolbar:
• Show/Hide Navigation — shows or hides the Navigation palette
• Image Information — shows or hides the Info palette
A convenient way to minimize the Organizer palette (or any palette) is to click the Auto Hide button on the palette title bar. For more information, see To roll up a toolbar or palette.