Before you start
• Ensure that the video clips you want to use are available in the Media Selector.
• Preview the video clips you want to use so that you have an idea what shapes will suit the content that you want to focus on. For example, if the main action is vertical, it won’t fit a horizontal shape very well.
To choose and fill a split screen template
1 In the Effect Selector, click the Split Screen button.

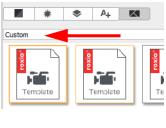
2 From the drop-down menu, choose All (for all Roxio-created templates) or Custom (for user-created templates).
3 Double-click a template thumbnail to open the Split Screen Editor.
4 To fill the template, drag a video or photo thumbnail from the media area to the drop zone below the preview window. The media fills the area of the template that corresponds with the number in the drop zone.
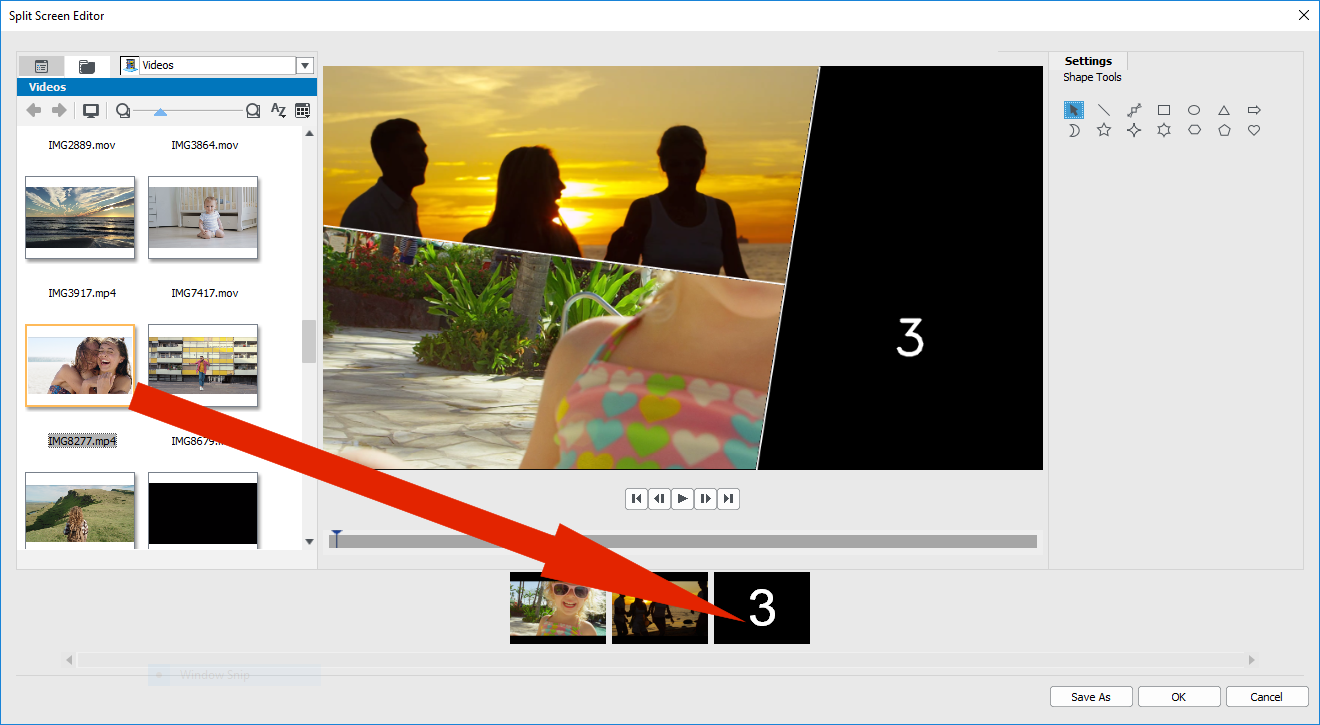
5 With the thumbnail of the media you want to adjust selected in the drop zone, in the preview area, do any of the following:
n Resize the selected clip by dragging the sizing red nodes that appear in the preview window.
n Position the clip by dragging it in the preview window.
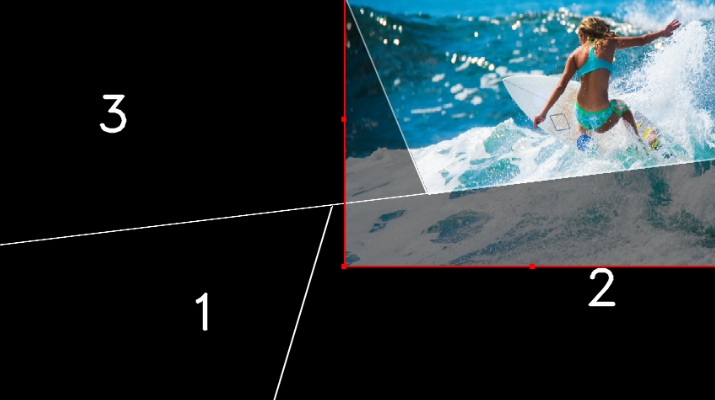
The clip selected in the drop zone displays with a red outline in the preview window.
6 When you have completed your split screen project, click OK to close the Split Screen Editor.
If you want to save the template with the media you added or if you choose to edit the template with the Shape Tools, click Save As to save the current version of the template to a new name.
If you want to edit the split screen element after you add it to the Timeline, do one of the following:
n Double-click the split screen element in the Timeline to reopen the Split Screen Editor.
n Select the split screen element in the Timeline, and click the Internal Tracks tab in the Production Editor. In this mode you can click the individual overlay tracks to adjust the clips (click the Done button when finished to return to the Timeline).
To create or edit a split screen template
1 In the Timeline toolbar, click the Split Screen Editor button  or double-click an existing split screen template.
or double-click an existing split screen template.2 In the Settings panel, click any of the Shape Tools, and drag in the editor window to split the area into different clip zones.
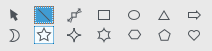
3 To adjust the lines and shapes, in the Shape Tools area, choose the Select tool  . and select the element that you want to edit in the editor window.
. and select the element that you want to edit in the editor window.You can drag the lines and shapes to reposition them and resize them. You can also adjust the Rotation, Width, and Color in the Properties area.
4 If you want to save content with your template (for example, an image or video that will be part of the template), navigate to the content you want to add and drag the corresponding thumbnail to the number you want in the drop zone.
To remove the content, right-click it in the drop zone, and choose Remove.
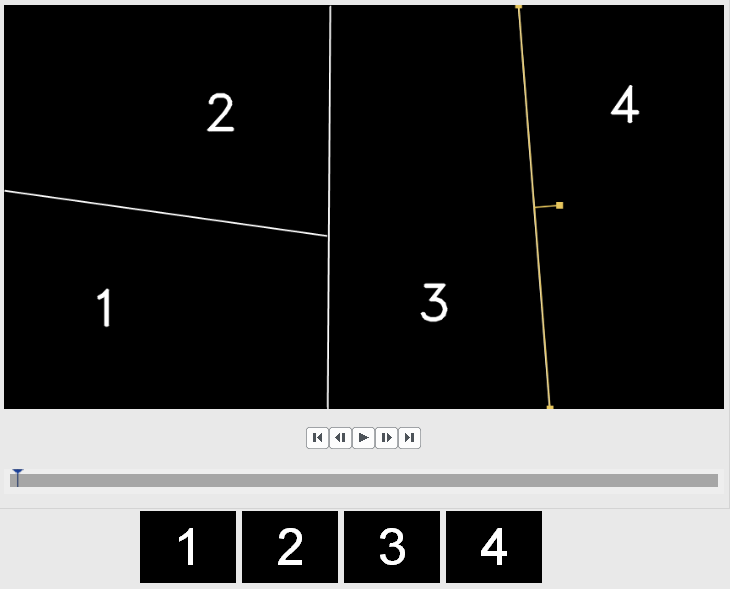
A numbered drop zone appears along the bottom edge of the preview pane.
5 When your template is complete, click Save As, type a file name, and click Save.
Templates are saved to the Pictures folder by default and can be accessed by choosing Custom from the drop-down menu on the Split Screen page of the Effect Selector.
6 Click OK to return to the Timeline.