Editing masks
When you edit a mask, you change either its area or the degree of masking. For example, painting over an object to mask it changes the area, whereas applying a gradient fill changes the degree of masking.
You can invert the transparency of a mask, so that black pixels become white, white pixels become black, and shades of gray become their mirror value, which is the maximum value (255) minus the current value.
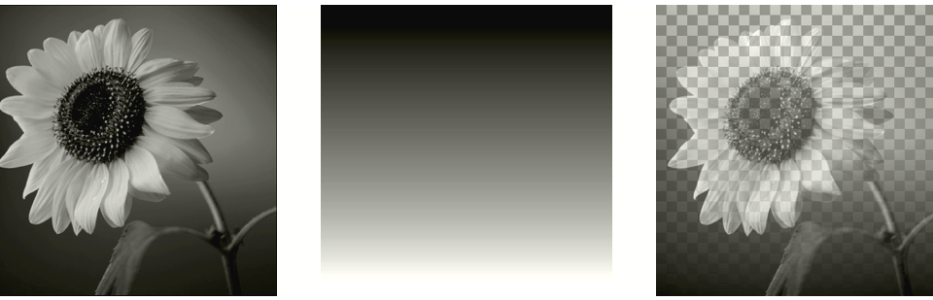
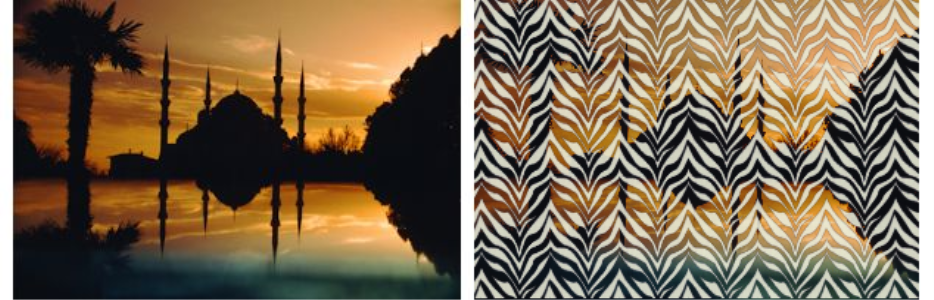
You can use a gradient, pattern, or texture mask to create interesting effects. A gradient mask varies the opacity of an image from fully hidden to fully transparent by fading the image in or out. A pattern or texture mask varies the image opacity in a repeated pattern throughout the image.
You can edit the layer properties of a mask, such as the name, visibility, or opacity. For more information, see Working with layers.
To invert a mask
To create a gradient, pattern, or texture mask
For information about creating masks, see Creating masks.
For information about gradients, patterns, or textures, see Using gradients, Using patterns, or Using textures.