About the Photography workspace
The Photography workspace is a simplified, touch-friendly workspace, with a handy Split View that makes editing easy for beginners. It is also ideal for making popular corrections and enhancements.
Although the elements in this full screen workspace, including the icons, are simplified, the tools found in the Photography workspace can also be found in the Complete workspace. For information about specific tools or settings, search the Help for the tool name or setting.
Note: Split View is one feature that is not available in the Complete workspace. You can toggle Split View on or off by clicking the Split View button ![]() on the Standard toolbar.
on the Standard toolbar.
Tool settings in the Photography workspace
In the Photography workspace, some tools are one-click, while others have settings. If a selected tool has settings, the settings display at the bottom of the window. You can click Cancel (x icon) or Apply (check mark icon) when you are finished adjusting the settings.
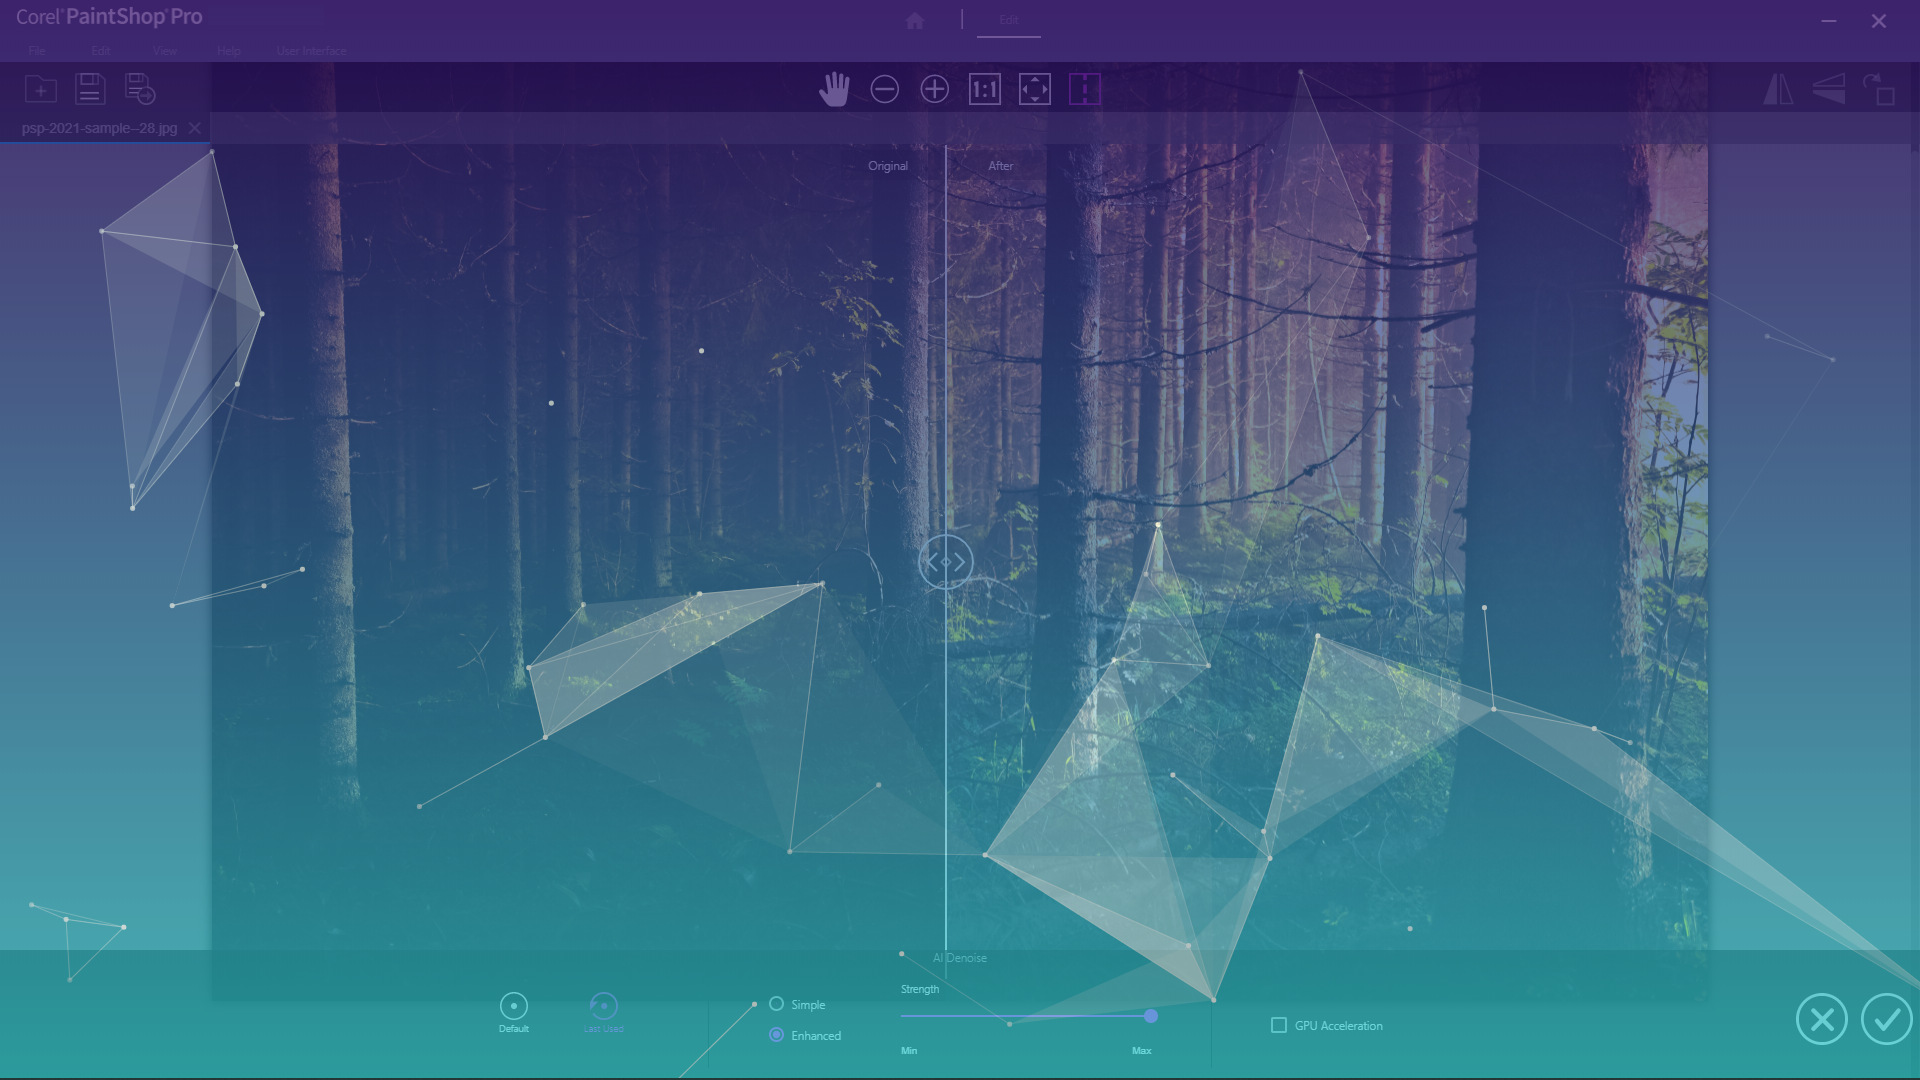
An example of tool settings in the Photography workspace.
As in other workspaces, you can undo and redo your edits. Undo and Redo can be found on the left side of the Tools toolbar.
AI features in the Photography workspace
The Photography workspace includes some AI (artificial intelligence) tools. The analysis for these features takes a few moments. The processing time depends on the size of the image and your computer system. You’ll notice an animated blue overlay displays while the AI features are processing your image. At any time, you can click the Esc key if you want to cancel processing.
AI Style Transfer works through the Instant Effects palette. When you click AI Style Transfer, the Instant Effects palette displays (if not already open), and the AI-Powered category is selected. Clicking a style thumbnail once applies the style to the preview; clicking a style thumbnail twice applies it to your image. Styles cannot be layered—applying a new style replaces the previous style.
An animated blue overlay appears while AI features are processing.

