Filling cutout shapes with images
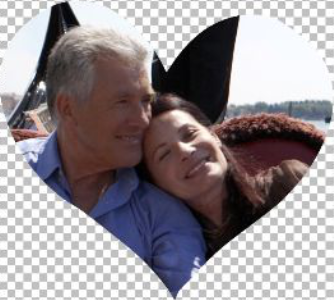
You can use vector shapes, such as Preset Shapes, to create cutouts that are filled with the background imagery. The effect is similar to using a clipping mask, except the cutout object is created as a new file with a transparent background—perfect for collage, scrapbook, or other creative photo projects.
To create a shape cutout
A semi-transparent mode is activated that lets you preview the cutout. You can now adjust the position, size, or rotation of the proposed cutout using the control handles for the object.
The cutout is filled with the underlying imagery and is created as a new file with a transparent background. A layer and mask is also created on the current image.
To help determine the best size and position for the shape cutout, in the Layers palette, reduce the Opacity setting for the shape so that you can see the underlying image.