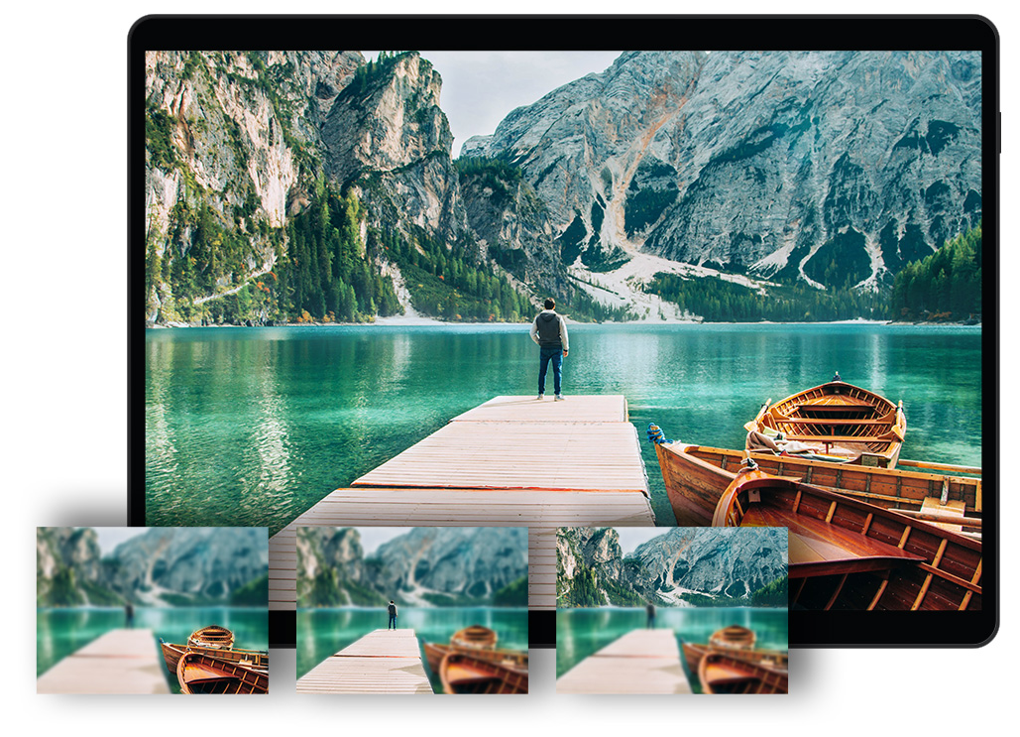
Combining photos with Focus Stacking
Focus Stacking lets you combine two or more photos of the same scene taken using different focus distances. You can choose exactly what areas in focus you want to keep from source photos to expand the focal range and customize the depth of field in the output composite image.
How do I take photos that work with Focus Stacking?
Set your camera to manual focus, From a tripod or with a steady rest, shoot a series of photos, adjusting the focal ring to change aperture settings between shots.
To use Focus Stacking
Clicking Brush in automatically activates Preview Stacking, which displays the results. You can disable this by unmarking the Preview Stacking check box.
9
In the Step 3: Crop and Remove Noise window, in the Digital Noise Removal area, do any of the following:
• Type or set a value in the Correction Blend control to determine to what degree the corrected image will be blended in with the original.
The blending values range from 0.0 (no noise reduction) to 100.0 (full processing of the entire image). The default value is 70.
