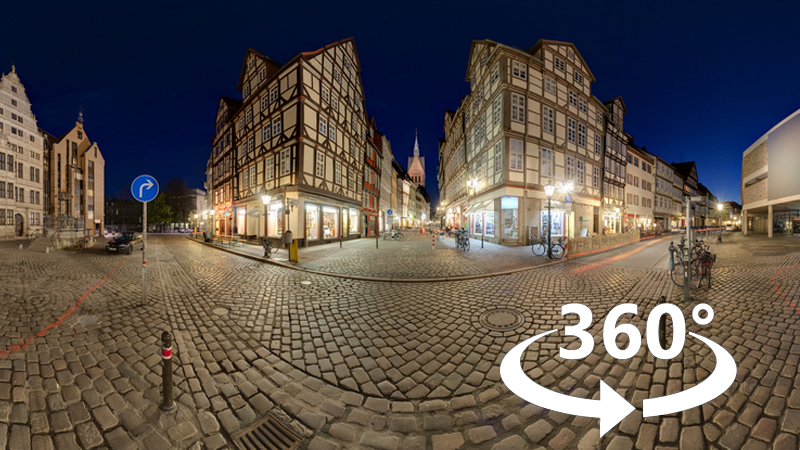
Editing 360 video
VideoStudio lets you edit different types of 360 video footage (check the instructions for your 360 video camera for more information). For example, you can adjust the color or brightness of the video, trim the video, or add titles or objects. Please note that not all effects can be applied to 360 videos.

Note: There are different types of 360 video. VideoStudio supports the following types of 360 video:
• Monoscopic Equirectangular
• Single Fisheye
• Dual Fisheye
You can convert any supported 360 video to Standard, or convert Single Fisheye or Dual Fisheye to Equirectangular video.
To edit and export a 360 video
1 In the Edit workspace, drag a 360 video from the Library to the Timeline.
If you want to convert a fisheye or dual fisheye video to equirectangular, right-click the clip in the Timeline, choose 360 Video > 360 Video Conversion, and choose the corresponding option. If you want to adjust any conversion settings, adjust the controls and click OK.
2 In the Timeline, verify that you are working with a 360 video by ensuring that the 360 video icon  displays in the Player panel.
3 Edit the video in VideoStudio. For example, you can do the following:
• Open the Options panel to access Color settings
• Apply an effect from the Library (*Not all effects can be applied to 360 video.)
• Trim the video
• Add a title or object
Note: When you apply a title or object to a 360 video, right-click the item in the Timeline, and choose 360 Video > Insert as 360 to convert the media to 360. Make any adjustments you want in the Insert as 360 window. A circular 360 icon appears on titles and other objects inserted as 360.
4 When you are finished editing, save your file and click the Share tab.
5 From the Share tab, ensure that you enable the Same as Project Settings check box or select a 360-compatible setting (for example, MPEG-4, AVC 360, in the highest resolution suitable for your project).
6 Make any additional changes to the settings on the Sharing page and click Start.