Adding titles using the Library
You can add titles when the Title category is active in the Library. You can add one or more custom titles or use presets to add animated titles, such as rolling credits at the end of your movie. You can also save custom presets.
1 In the Timeline, drag the Scrubber to the position you want.
2 Click the Title button  in the Library panel.
in the Library panel.3 You can double-click in the Preview Window and start typing, but the easiest way to get a professional-looking title, is to drag one of the title thumbnails from the Library to the Title track in the Timeline.
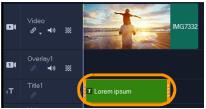
4 You can drag the title to any position in the Title track and adjust the duration of the title by dragging the end handles of the clip.
5 To edit the title text, double-click the title clip in the Timeline, drag across the text in the Preview Window, and type new text.

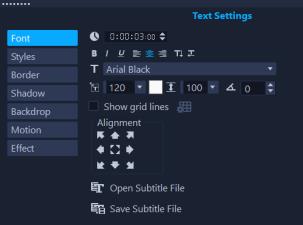
6 On the Text Settings page of the Options panel, click the Font button, and use any of the controls to format your title text. For example, you can align the text and change the font, size, and color.
If you want to use preset font styles, click the Styles button and choose an option.
Title clips can be placed on Title, Video, and Overlay tracks.
1 Click Title in the Library panel.
in the Library panel.2 Drag and drop the preset title onto the Title Track in the Timeline.
3 Double-click the text in the Preview Window, drag across the placeholder text to highlight it, and type the text you want.
• Right-click a title clip in the Timeline and click Add to My Favorites. You can access your title preset in the Library by choosing My Favorites in the Gallery drop-list.
If you want to save specific filter customizations for your title, in the Options panel, click the Attribute tab, and after customizing the filter settings, click the Add to My Favorites button  to the right of the filter list.
to the right of the filter list.