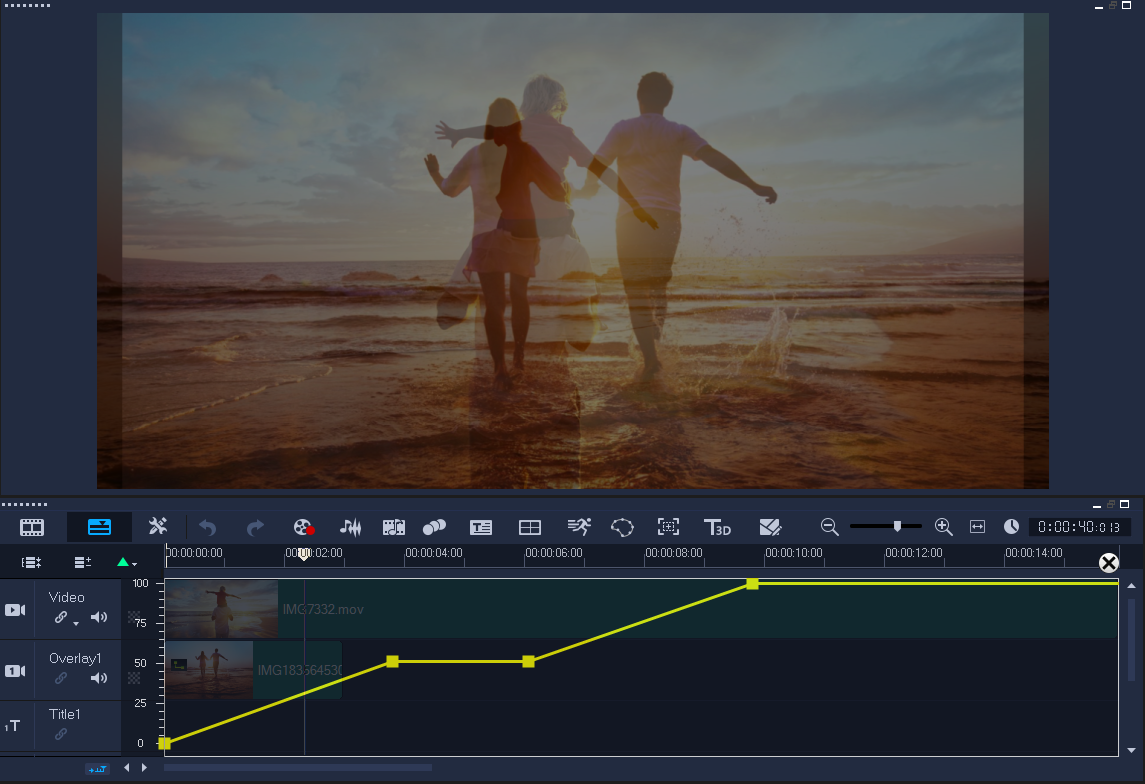
Track transparency
You can use the Track Transparency mode to precisely control the transparency of a track. Key frames let you vary track transparency to achieve the effect you want. For example, you can adjust the transparency of a track to create a superimposed effect (where the underlying track shows through) or to create a custom fade in and fade out effect.

1 In the Edit workspace, choose a track in the Timeline that you want to adjust.
2 In the track header, click the Track Transparency button  .
.
 .
.Track Transparency mode opens.

3 Do any of the following
• To adjust the transparency for the entire track, drag the yellow line to a new vertical position. The top has a value of 100% opacity and ranges to 0% opacity (fully transparent) at the bottom.
• To vary the transparency throughout the track, click the yellow line to set a key frame. You can add as many key frames as you like. Drag the square key frame node to the transparency level you want.
• To delete a key frame, right-click a key frame node and choose Remove key frame.
• To delete all key frames, right-click a key frame node and choose Remove all key frames
4 To exit Track Transparency mode, click the Close button  in the upper-right corner of the Timeline.
 in the upper-right corner of the Timeline.