Parallax transitions
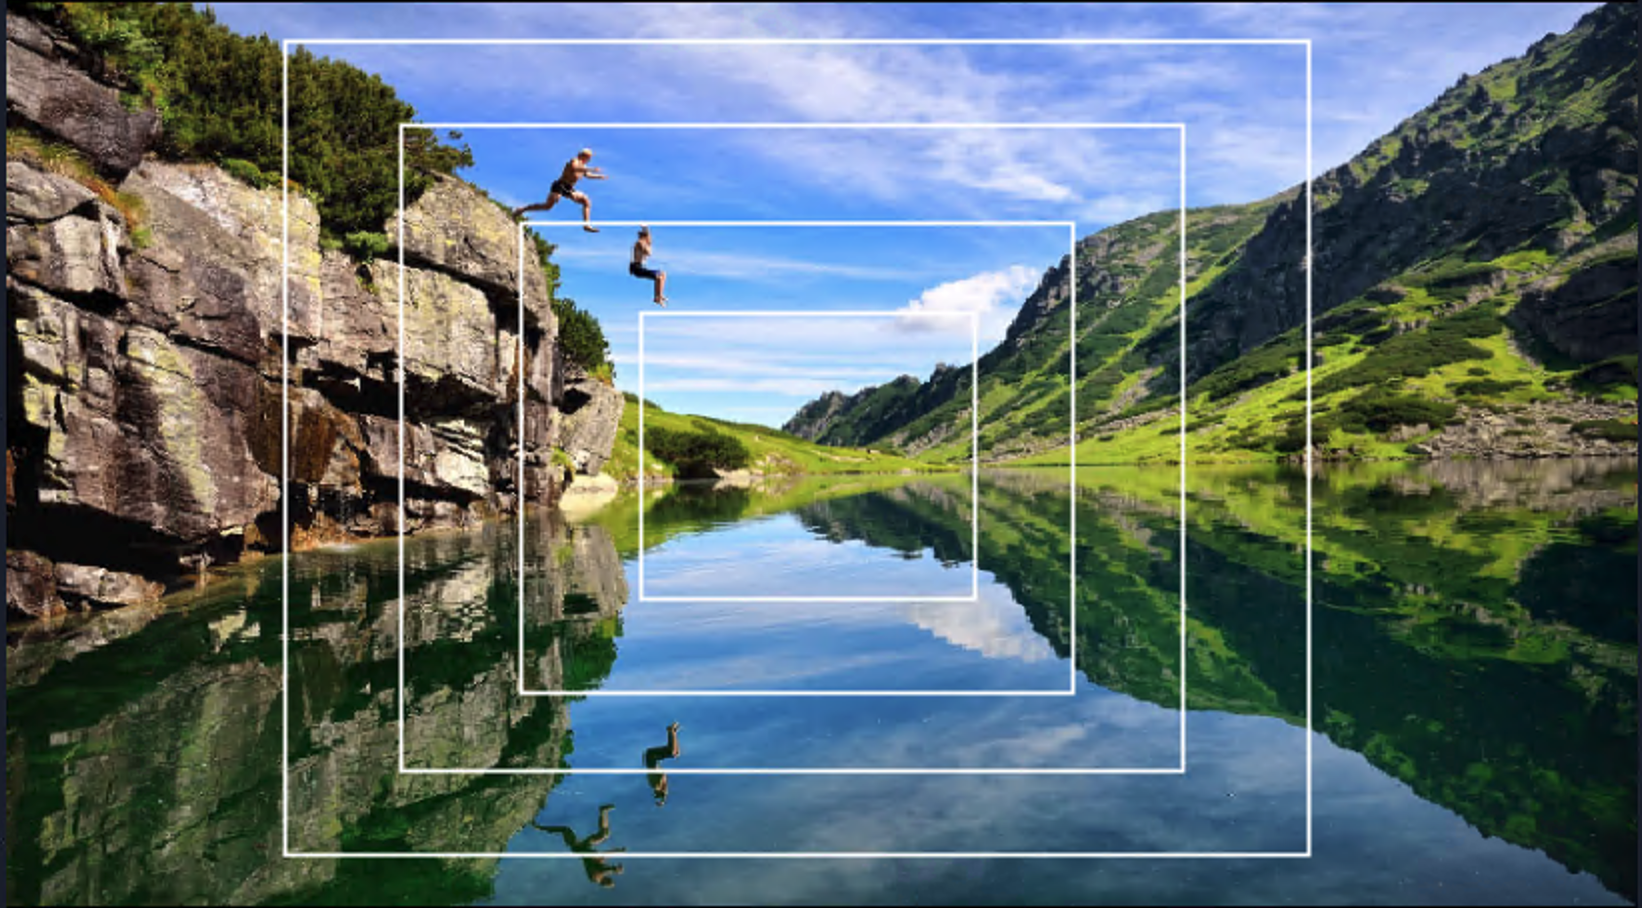
Parallax transitions separate layers and move them at varying speeds to create the perception of 3D depth.
In this example, four layers with a rectangular shape are used to create the Parallax effect.
You can choose from a range of preset parallax transitions to add between clips in the Timeline. You can also customize parallax transitions with a variety of line and shape tools for creating and editing layers. In addition, you can choose to have the transition move in several different directions.
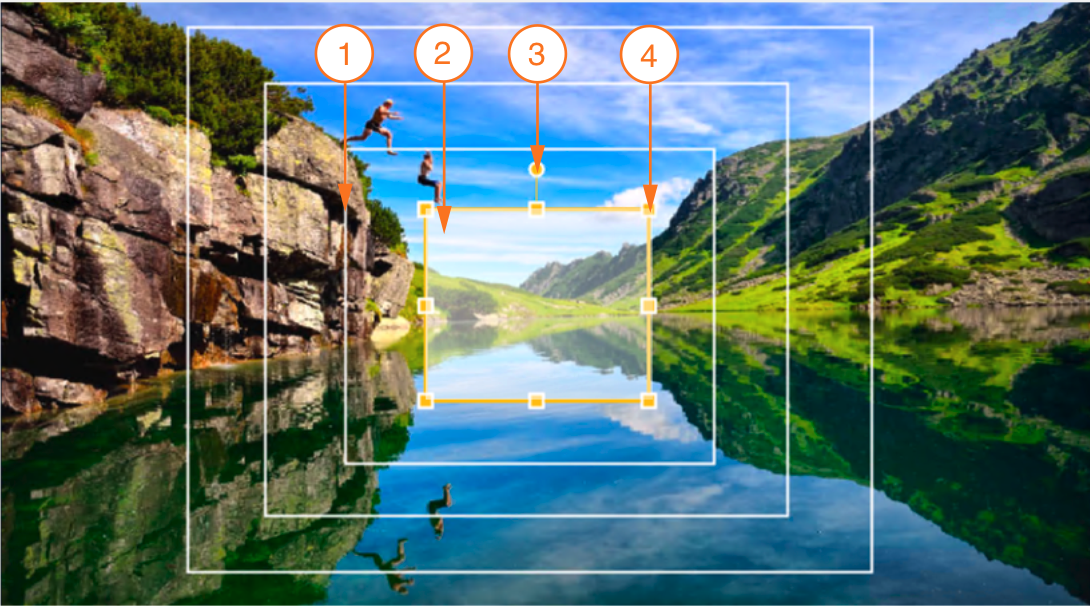
A white bounding box (1) helps visualize the layer shape (2) in the Preview window. When you select a layer, the color of the bounding box changes to orange and handles (3 and 4) appear to help you rotate (3) and scale (4) the layer.
To add a Parallax transition

1
In the
Library, click the
Transitions category button

, and choose
Parallax in the list of categories.
2
Drag a
Parallax transition thumbnail to the
Timeline, between two clips.
3
Preview the results in the
Player panel.
To customize a Parallax transition
1
Double-click the thumbnail of a
Parallax transition in the
Timeline, and then click the
Customize button in the
Options panel.
2
In the
Parallax dialog box, perform a task from the following table.
|
|
|
|
|
|
|
|
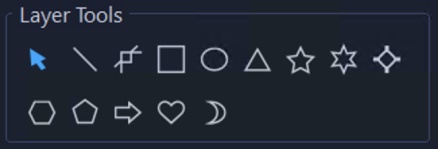
In the Layer Tools area, click any of the line or shape tools, click in the preview window, and drag to draw a line or shape. Repeat this step to add more layers. VideoStudio lets you add up to 10 layers. |
|
|
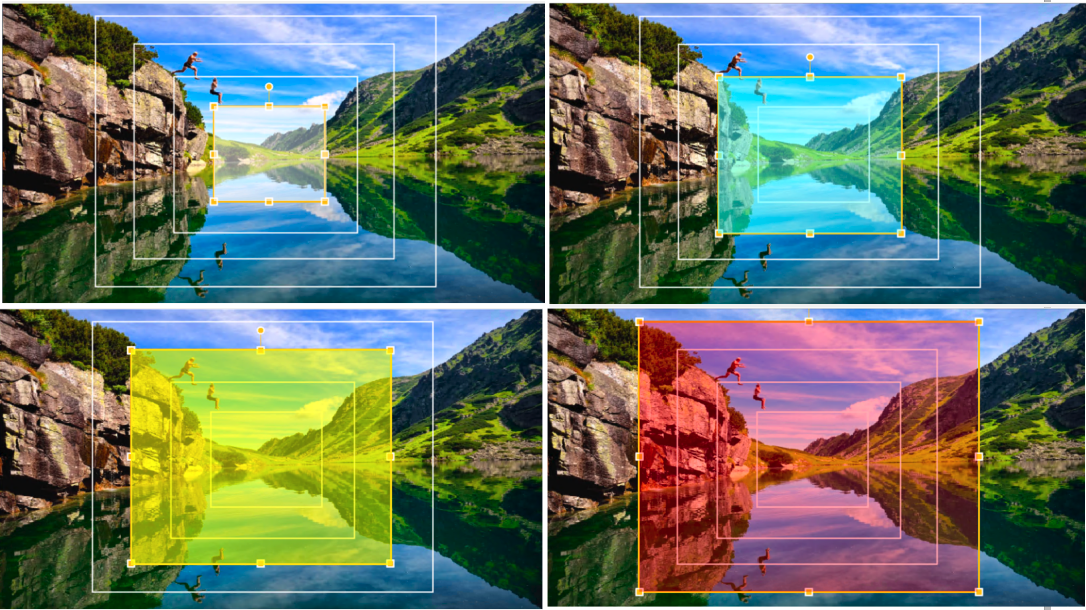
In the Layer Tools area, click the Pick tool  and then click anywhere on the white bounding box of the layer. Tip: When layers overlap, first deselect all layers by clicking outside the outer-most layer, and then click anywhere on the white bounding box of the layer you want to select.
To select layer 4 (top-left), first click in the area outside layer 1 (bottom-right) to deselect all layers, and then click anywhere on the bounding box of layer 4.
|
|
|
In the Layer Tools area, click the Pick tool and then click a layer in the preview window. Hover over the layer and when the cursor changes to a four-sided arrow 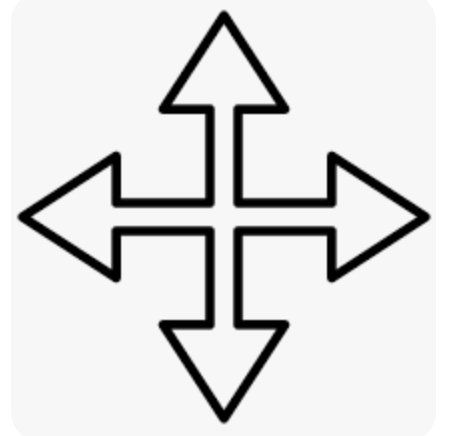 , drag the layer to a new location |
|
|
In the Layer Tools area, click the Pick tool and select a layer. Hover over the square selection handles, and when the cursor changes to a two-sided arrow 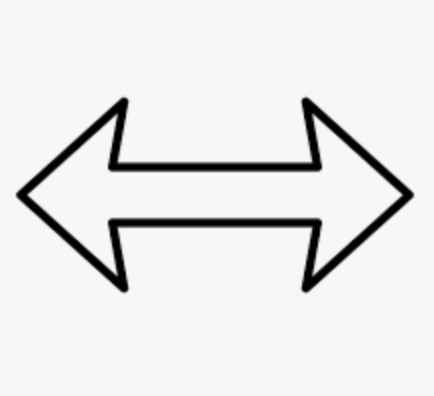 , do one of the following: • Drag any of the corner handles to scale the layer proportionally. • Drag any of the middle selection handles to change the width or height of the layer. |
|
|
In the Layer Tools area, click the Pick tool and select a layer. Drag the rotation handle clockwise or counterclockwise. |
Modify the shape of a layer created with the Curved Line tool  |
In the Layer Tools area, click the Curved Line tool . Draw a line in the Preview window. Click the Pick tool and select the layer you just created. Hover over the square handle, and when the cursor changes to a two-sided arrow , drag the handle in the direction you want. Release the handle when you are satisfied with the shape of the curve. |
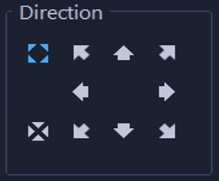
Change the direction of the transition |
In the Direction area, click one of the options. |
Change the borderline of the transition |
In the Borderline area, enable the Straight or Curve option. |
|
|
Choose an option from the Select preset drop-menu. |
Save a custom parallax transition |
Click the Save button, type a name in the File name box and then click Save. |
Reset the parallax transition |
|

To undo or redo an action, click the Undo  or Redo
  buttons in the top-left corner of the Parallax dialog box.