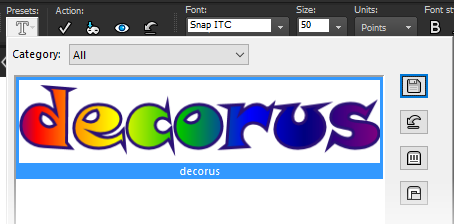
Saving text presets
You can save formatted text as text presets. For example, if you annotate screenshots in PaintShop Pro regularly, you can create an annotation text style that includes your preferred font, text size, color, and other settings, and save it as a preset for quick access. Likewise if you create collage pages or flyers and use the same text styles each time—presets help you keep the pages consistent.
To save a text style as a preset
You can delete, rename, copy, or move a preset text style by clicking the Resource Manager button in the Presets drop-list, clicking a text style in the list, and clicking the corresponding button for the action that you want to perform. For more general information about presets, see Using and creating presets.
