Adding media to titles
VideoStudio lets you add graphics and videos to titles. You can choose media from the Library or browse for assets saved to local, network, or portable devices.

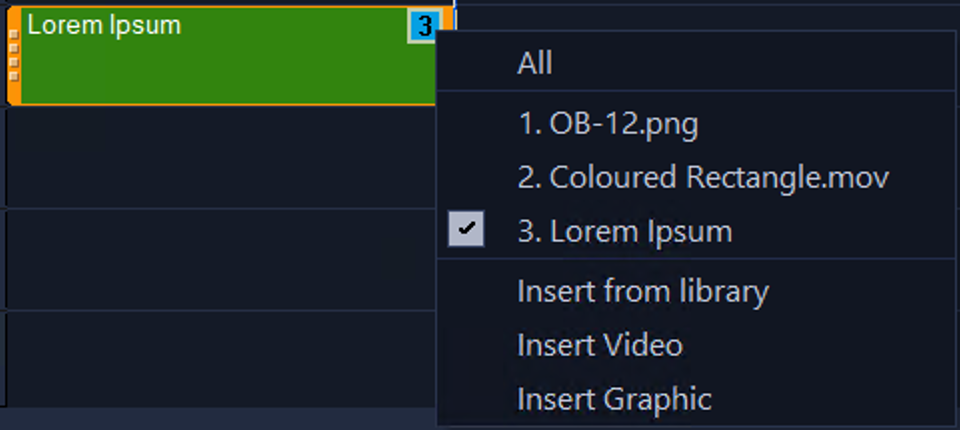
The Add a video/image icon in the top-right corner of a title clip ![]() lets you add media to titles.
lets you add media to titles.
After you merge media into a title, the Add a video/image icon ![]() changes to a number that indicates the currently selected object. In this example,
changes to a number that indicates the currently selected object. In this example, ![]() represents the title.
represents the title.
The order in which you add media to a title affects the stacking order of objects. The stacking order determines how objects are layered in relation to one another. The title is always at the top of the stacking order followed by the most recently added object.
Objects are numbered in the order in which they are added to the title (top); however, in the stacking order (bottom), the title is always at the top followed by the most recently added object, which is the colored rectangle movie (Coloured Rectangle.mov) in this example.
You can change the stacking order by sending objects to the front or back of other objects. After you merge media into a title, you can adjust its position and size. For example, you can move, size, and scale a media object or all objects merged into a title.
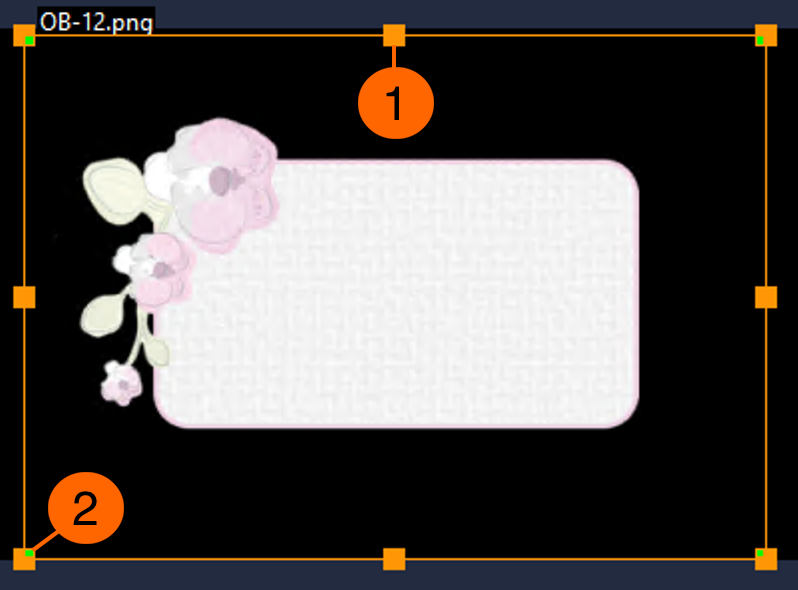
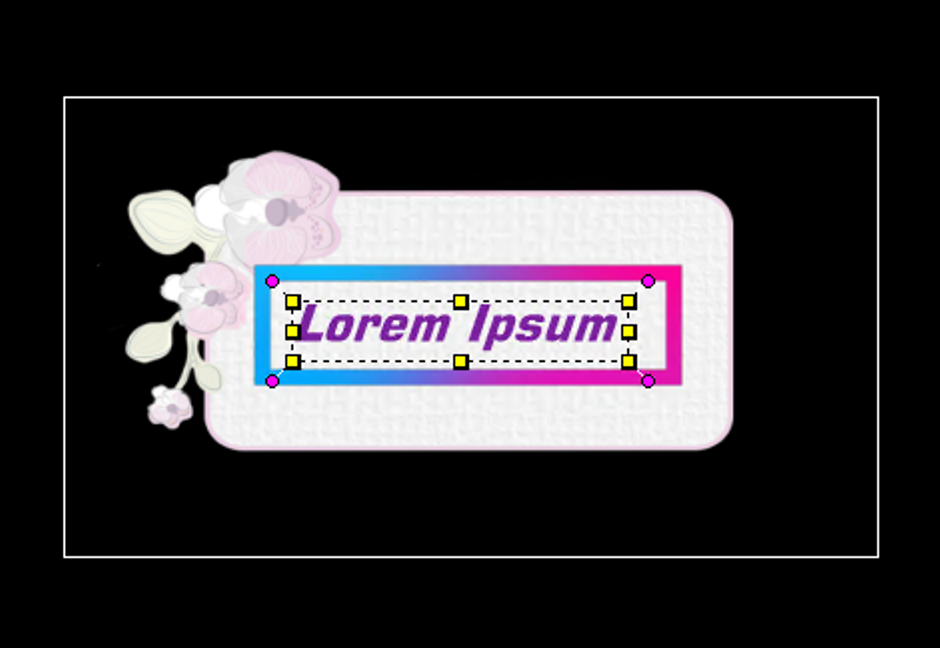
When you select a media object merged into a title, an orange bounding box appears around the object in the Preview window of the Player panel. The orange handles (1) let you scale the selected object, the green handles let you skew the object.
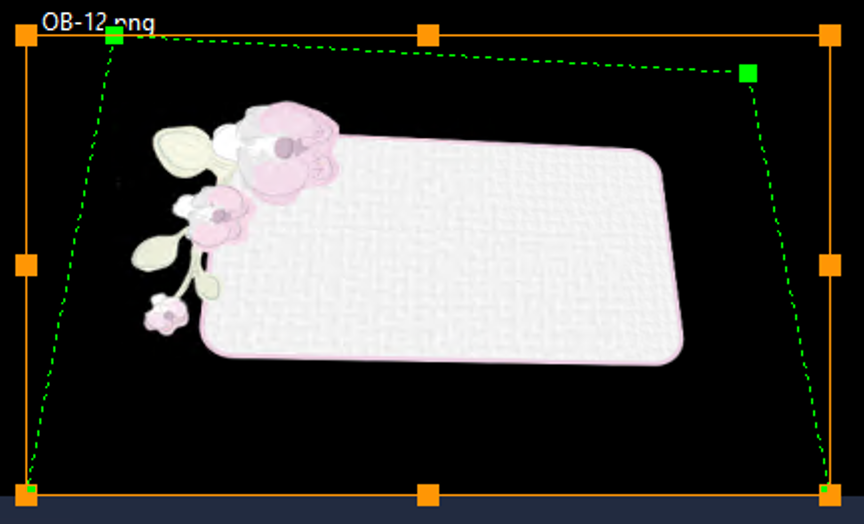
Skewing an object in the Preview window
You can also animate objects merged into titles. For information about applying motion to objects, see Customizing motion.
To add a graphic or video to a title
You can also add a graphic or video to a title by dragging the media from the Library to the title clip in the Timeline.
To remove a graphic or video from a title, click the Add a video/image icon, and choose a media object. Right-click the title clip in the Timeline, and click Delete.
To select a media object merged into a title
When you click the Add a video/image icon in the top-right corner of the clip and choose All, the entire group of objects is selected and the Add a video/image icon changes to a lock icon ![]() .
.
You can also select an object in the Preview window of the Player panel by hovering over the object, and double-clicking it when a white dotted bounding box appears around it.

When you hover over an object in the Preview window, a white dotted bounding box appears to indicate that you can select the object. If objects overlap, you may need to move the overlapping object temporarily aside, so you can select the underlying object.
To position, scale, and skew a media object merged into a title
You can also move, size, scale, and skew a merged object, as well as apply motion to it by clicking the Add a video/image icon in the top-right corner of a title clip, clicking a media object to select it, right-clicking the clip, clicking Motion Options > Customize Motion, and using the controls in the Customize Motion dialog box. For information about the options available for setting the motion of objects, see Customizing motion.